25 Jun Can I Record My Own Deposition?
 Deposition videos can be very beneficial for legal proceedings; however, finding a videographer that has the knowledge needed to produce a deposition video can be expensive and time-consuming. If you’re a lawyer, you may find yourself asking can I record my own deposition video?
The answer is yes. You can record your own deposition video as a lawyer. However, you will need to be familiar with the equipment that you’ll need to use, the rules and regulations governing deposition videos, and have basic video editing skills so that you can produce the finished product.
Being familiar in each of these areas will ensure that you’re capable of filming a usable deposition video.
Using the Proper Equipment
Investing in the proper equipment can make or break your deposition video. The right equipment will allow you to capture adequate footage and sound. Here is a list of the minimum equipment we recommend for shooting a deposition video:
- Camera
- Microphone (You may need multiple microphones.)
- SD Cards
- Backup System
- Tripod
- Headphones
- Extension Cords
- Equipment Bag
Having this equipment plus back-ups will help you be ready for any situation you may face when it comes to shooting your deposition video. There’s nothing worse than finding out after a deposition was shot that you failed to pick up quality sound or your camera died halfway through.
Cameras
Having a camera and a backup camera on hand is vital. The entire point of shooting a deposition is for quality footage, so you want to make sure that, no matter what, you can get your shot.
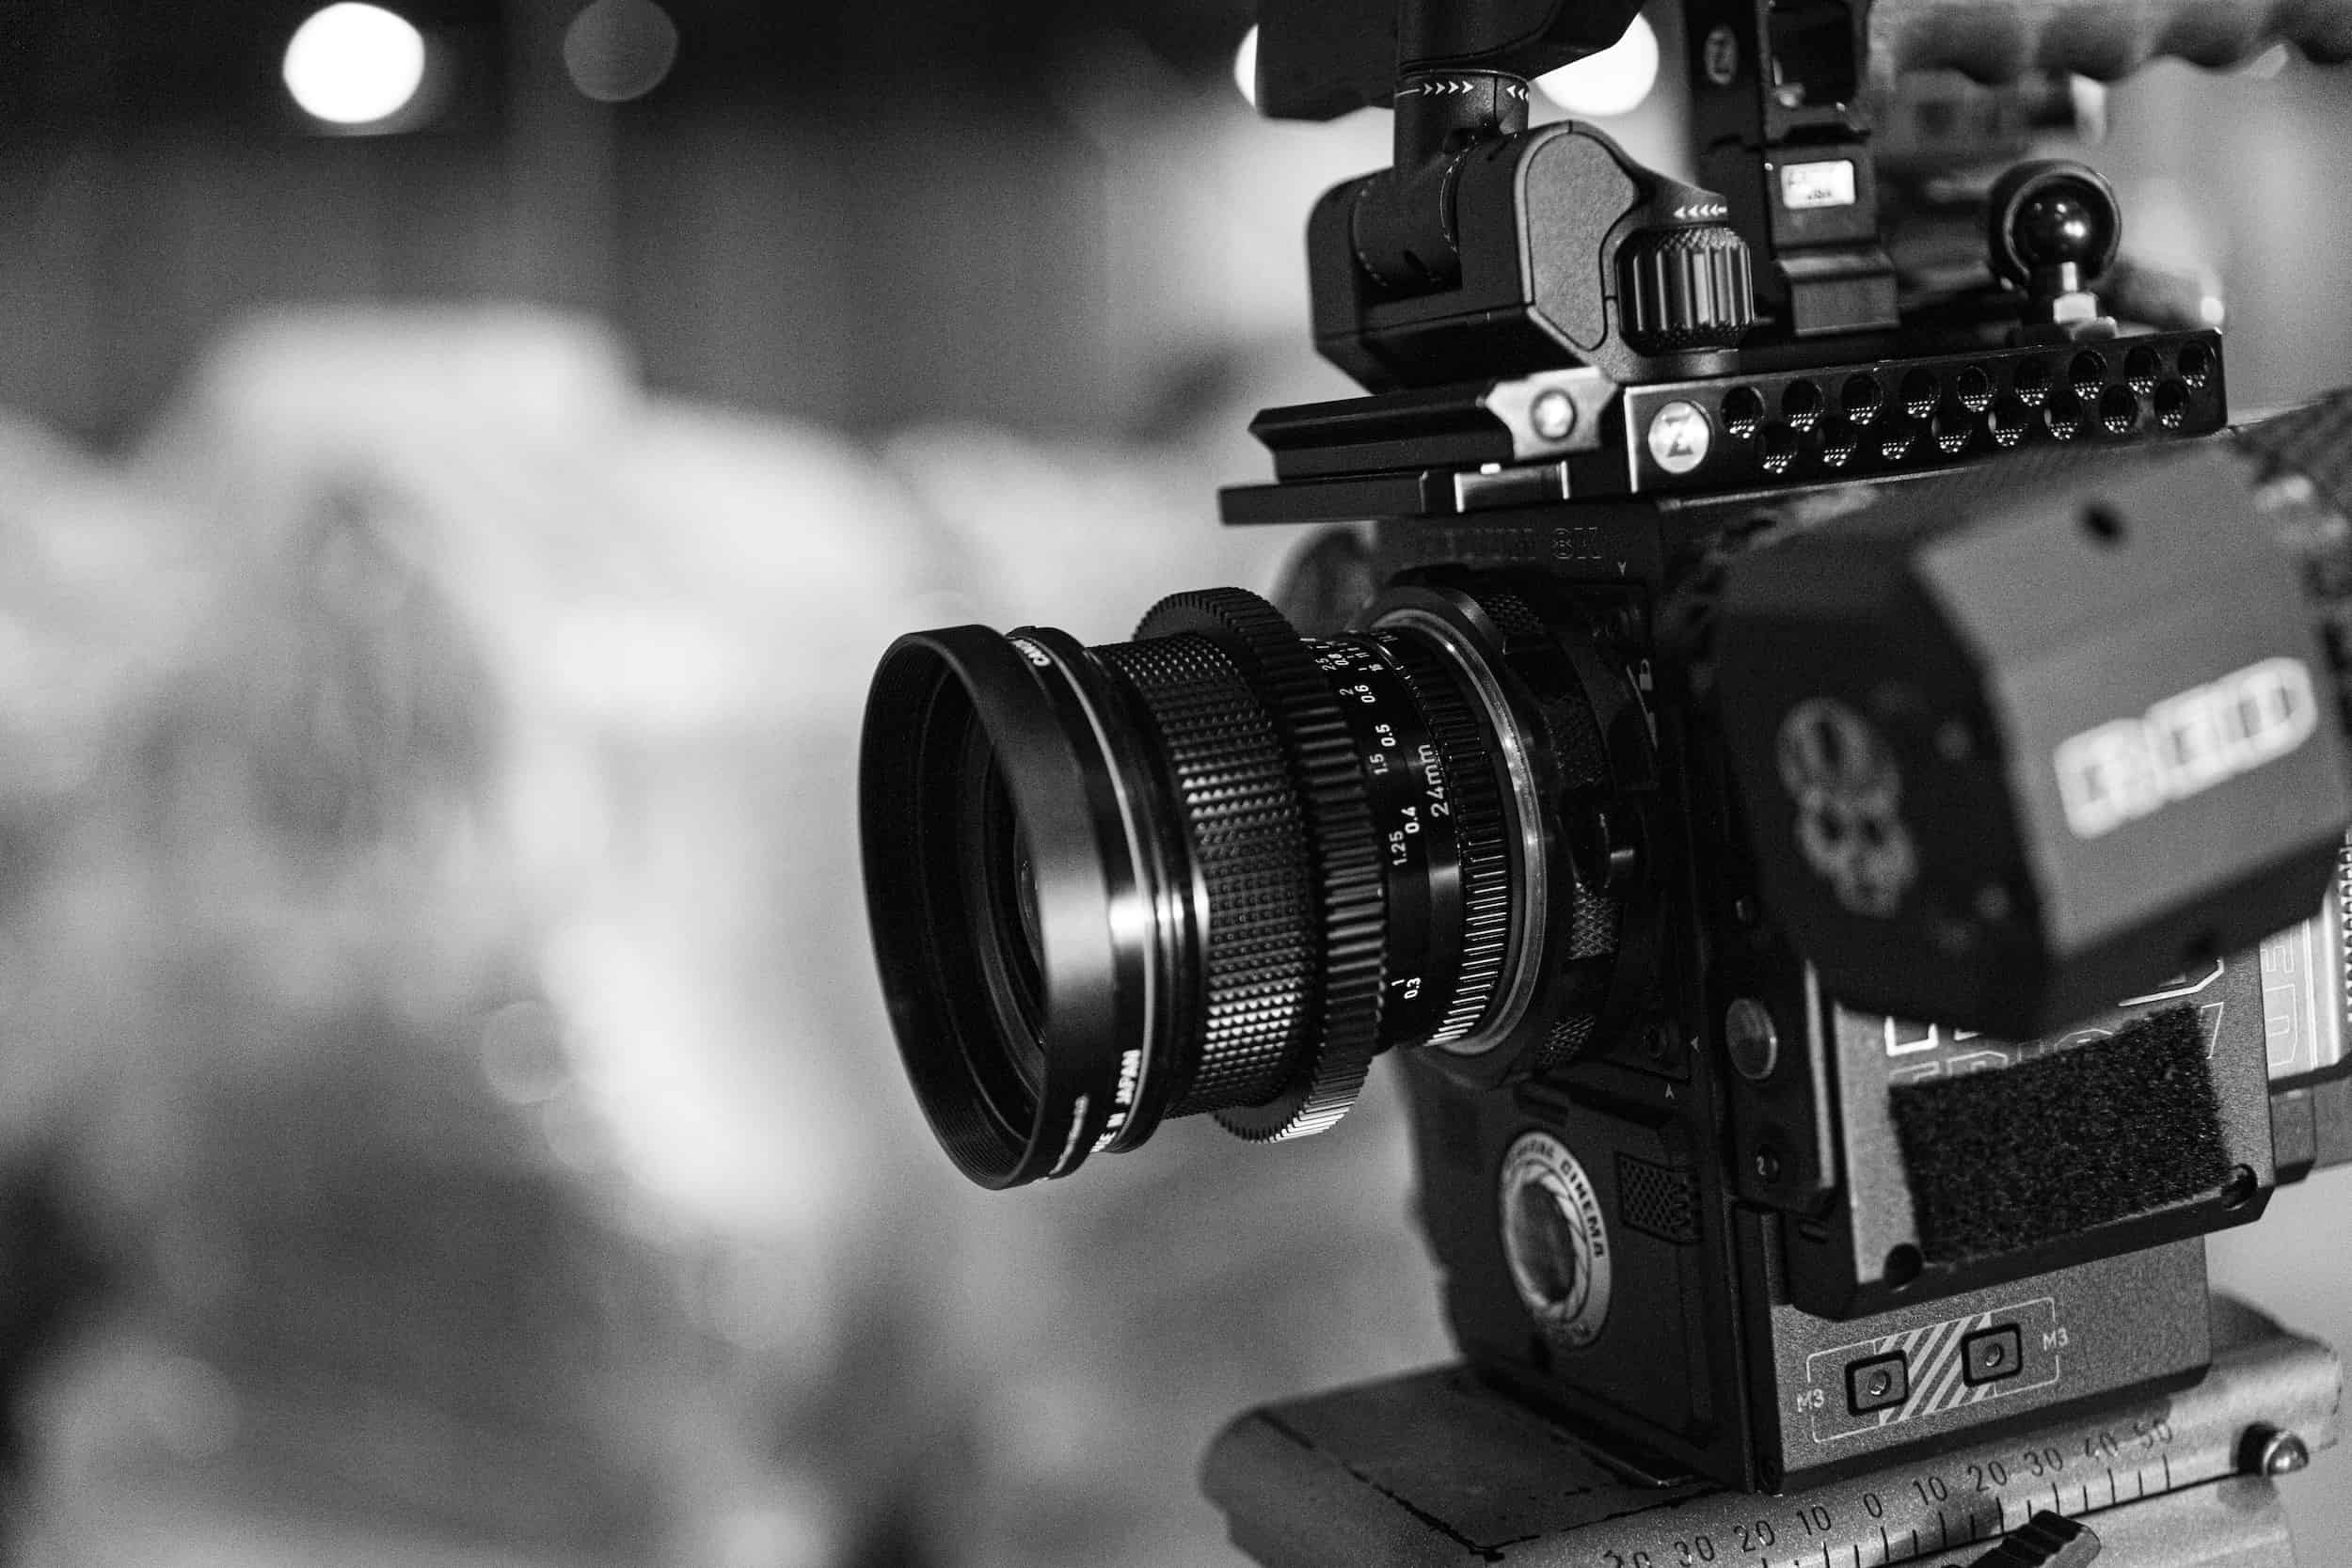
There are a number of different camera options that you can use to film a deposition video, but my recommendation is that you use a camcorder. While other cameras like a DSLR might be able to get the job done in a pinch, the benefit of camcorders is how quickly and easily they can be set up to film.
When all you need is a basic video with a high-quality image and sufficient audio inputs, the customization options of a DSLR can just get in the way. I’ve listed out my favorite camcorder options here for those who are interested.
Microphones
When capturing audio in a deposition, it’s important that you come prepared with equipment that will be able to pick up everyone clearly.
Popular options for deposition videos are lapel microphones that can be clipped onto those who are doing the speaking, and an omnidirectional microphone that can be placed in the middle of those speaking.
Another microphone option you can use is a small boom mic that you attach to the top of your camera. This microphone is great for picking up everyone who is speaking, although you may get more room noise. Any of the mics I’ve listed here will work great for deposition videos.
SD Cards & Backup Systems
Without an SD card, you won’t be able to save any of the footage you take. An SD card gives your camcorder the ability to save the files; you can then transport them to the computer for editing
Having a secondary SD card or backup system that you can automatically save your work to is a great idea. If the primary method of saving the file fails or runs out of space, the secondary SD card or other backup systems can go to work recording the footage. Some cameras come equipped with multiple SD cardholders that can make this process fairly simple. To learn about other backup systems you can read my article here.
Tripods
When it comes to deposition videos, a sturdy tripod is an absolute necessity. Tripods allow you to frame and capture a shot for the duration of the deposition. By placing your camera on a tripod, you free yourself up to question the deponent instead of having to endlessly watch the shot.
Headphones
Having a pair of headphones is another important step to remember. With these, you can plug them into the camera and make sure that the microphones are picking up the audio properly. You can do a test to see if everyone in the room can be heard when something is said.
Extension Cords
Depositions can sometimes be hours long; there’s nothing as traumatizing and nerve-wracking than watching the battery on your camera slowly drain. Having an extension cord on hand will keep you from having to interrupt the deposition to change batteries or replace the camera.
Equipment Bag
Equipment bags allow you to easily move all your equipment around. If you’re traveling for a deposition, all you have to do is take your equipment bag with you! Having this handy can make set-up much easier and quicker instead of having to drag equipment pieces into the room one at a time.
Setting-Up for Your Deposition
 If you are wanting to shoot your own deposition video, knowing how to correctly set up your equipment is important. There are a few things to consider when it comes to setting up for your deposition:
- Properly setting-up equipment
- Correctly framing your shot
- Ensuring that the video/audio is actually working/recording
- Knowing when to stop and start the recording.
Knowing what goes into each of these aspects of set-up will allow you to produce a professional and well-rounded deposition video.
Properly Setting-Up Equipment
Camera & Tripod
Setting up your equipment correctly is vital to the success of your video shoot. There may seem to be many pieces of equipment; once you realize how they all work together, preparing for your shoot should be a piece-of-cake.
Set up your tripod and camera directly across from where the deponent will be seated. You want your camera to be eye-level with the deponent in order to properly capture their statements and body language.
Microphone
There are a few ways you can set-up your audio depending on the type of microphone you’re using. The important thing to remember is to place your microphone where it will be able to clearly pick up the audio of everyone in the room.
This can be done by setting a lapel microphone or omnidirectional microphone between the deponent and the opposing lawyer, pointing your boom mic in the direction of the person being deposed, or using lapel mics for everyone that will be speaking.
Take time to research the type of microphone you use and the best way you can capture all that is said in the deposition.
Back-Up Systems
Having a back-up system set up is vital when it comes to shooting your own deposition video. Imagine how frustrating it would be to take the time to schedule, coordinate, interview the deposed, and shoot a video just for the video to be lost when something doesn’t go according to plan.
It’s important that you test this equipment beforehand to make sure that it’s working correctly.
There are a few different back-up systems out there; many camcorders come with the ability to store multiple SD cards, recording to the back-up if the primary SD card fails. There are also HDMI back-up drives you can invest in as well.
Correctly Framing Your Shot
Deposition videos capture essential information and evidence needed to win in court. Juries can witness the deponent’s mannerisms, attitude, and testimony through deposition videos.
In order to capture the deponent’s testimony successfully, you have to properly frame your shot.
The recommended and most common deposition video frame will only show the deponent, not the other people in the room. Zoom in so that only the deponent is visible, close enough to catch facial expressions and hand movements.
Ensuring that the Video/Audio is Working
The next thing you’re going to want to do before you deposition gets started is to test your equipment. Make sure your camera and microphone are working correctly and capturing what needs to be captured.
You can test your audio by plugging in a set of headphones to your camera and have someone talk near the mic. If the mic is working and being received by the camera, you’ll hear it in your headphones.
Make sure your camera is properly working by doing a test video. Hit start and watch the red button appear on the screen. Hit stop and watch the red button disappear.
Knowing When to Start and Stop Recording
Another thing to know before the deposition gets underway is when to start and stop recording. Knowing this will make it easier for you in the editing room.
Whenever “Off Record” is called, you can stop the recording. It’s pointless to keep recording when off the record because anything said during that time cannot be used in court.
Before going “On Record,” where the deponent can now be held accountable for their testimony, always check with the people present to ensure that they’re ready to begin. Always start the recording before “On Record.”
If you’d like to know more about what goes into setting up for a deposition video, click here.
Editing and Storing Your Video
 Once your deposition is completed, it’s now time to edit and store your deposition video.
Editing
You can edit on a number of computer software. You check out our breakdown of some of the most popular editing software here.
Upload your deposition video clips. If you stopped recording every time “Off Record” was called, all you’re going to have to do in terms of editing is to make sure that your video clips are lined up in chronological order.
If you didn’t cut for “Off Record,” you are going to need to edit out the “Off Record” parts. Be advised that this is the only editing that should be done. If you were to edit the deposition further to only capture the parts that are beneficial to you in court, you could get in trouble.
The court reporter will have complete proof of the dialogue in the deposition; it will be obvious if the deposition video has been tampered with any further than it needed to be. You can see my full editing guide here.
Storing
You can store your deposition video on a DVD, flash drive, or hard drive. This will give you a physical copy to hold onto instead of relying on a computer database that can malfunction.
Backing Up Your Video
Legal cases can last for years; the same deposition video can be an asset in court serving the same case even when the trials are years apart. By keeping a back-up of your deposition video, you are ensuring that you’ll be able to find it whenever you need it in the future, even if the original is lost.
I highly recommend having a physical filing system for your deposition videos. Like mentioned previously, computer files can malfunction, shut down, and be lost. Uploading your video onto a DVD, flash drive, or hard drive can ensure that you have your video when you need it.


