08 Jun How to Set Up for a Video Deposition
How to Set Up for and Record a Video Deposition
When our company first ventured into shooting video depositions we had to start from scratch. My goal is to help you learn everything we didn’t when we walked in to film our first deposition.
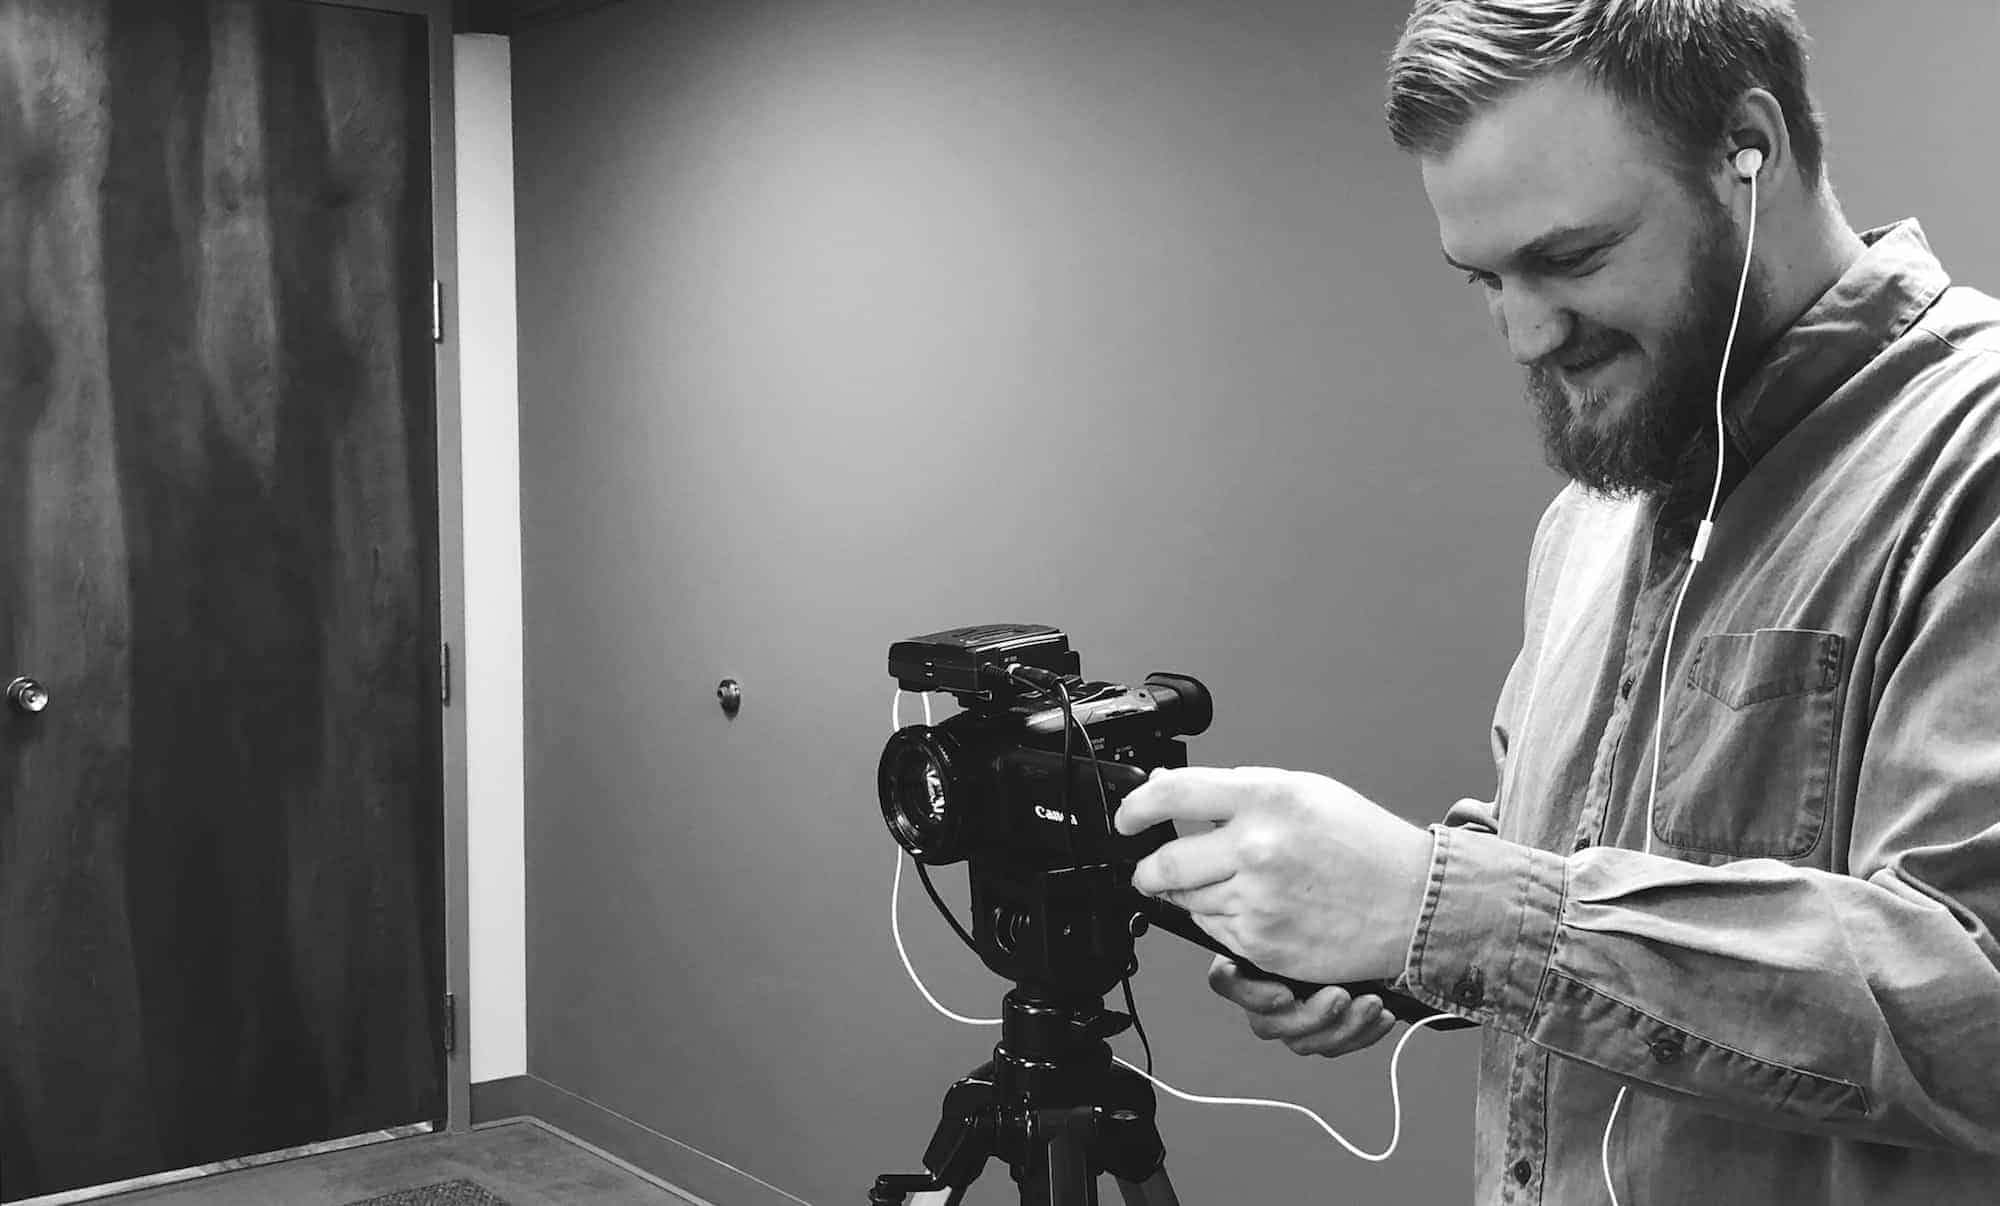
When recording a deposition, preparation is the key to success. With proper preparation and planning, you can be confident walking into shoot your first deposition video. As a legal videographer, you should be focused on two things: quality picture and quality audio.
With other video projects, you’ll be able to reshoot something if there is an issue, but recording a deposition is similar to live video. You won’t have the opportunity for retakes, so everything needs to be perfect. You need to check and double-check your batteries, SD cards and anything else that could be an issue.
Our goal is to get you prepared to shoot a legal video and hopefully avoid some of the issues we had when we were first getting started. We’re going to take you step-by-step through preparing for and shooting your first deposition video.
Preparing for the Shoot
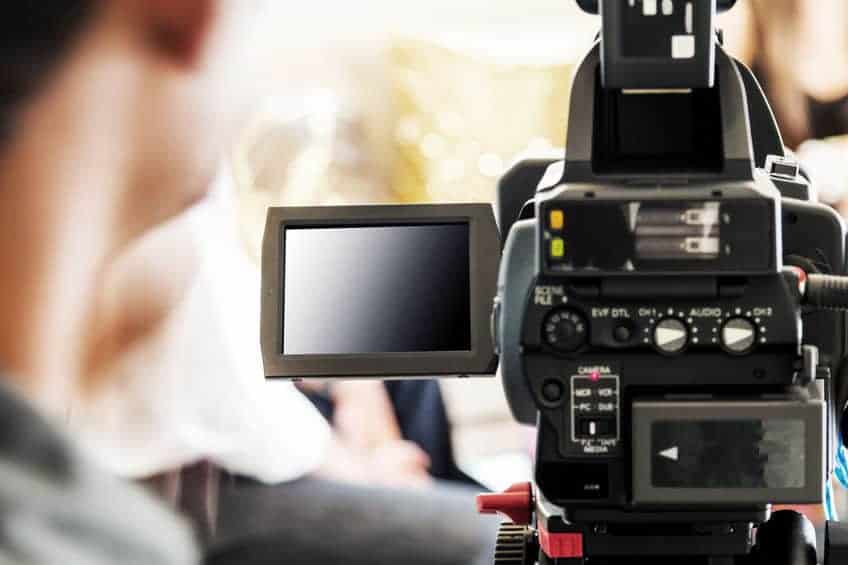
There is a lot that goes into deposition video initial setup and recording. The minimum equipment that you’ll need is a camera, tripod, SD cards, headphones, and a mic. When preparing to video a deposition, your equipment is the key. It’s important to test your equipment and make sure everything is in working order prior to the deposition.
If possible, carry a backup of each key piece of equipment. Having an additional camera can be critical, even if you need to utilize a smaller cheaper camera as a backup. I would recommend using a camera that you can plug into an outlet. It’s ideal if your event space has an electrical outlet that is easily accessible for your camera.
Having an extension cord in your pack can be a lifesaver if the outlet isn’t close and accessible. Depositions can last for hours and having to change a low battery in the middle of the depo doesn’t look very professional and could cause you to miss a key statement.
You’ll need plenty of space on your SD card. Having an empty 64GB or 128GB can help ensure that you don’t have to change out an SD card in the middle of the deposition. Keep a simple checklist in your equipment bag and make sure to check off each item so you don’t leave anything back at your studio.
Minimum Video Deposition Equipment List
- Camera
- Backup Camera
- Microphone (You may need multiple microphones.)
- SD Cards
- Backup System (This can be a separate backup drive.)
- Tripod
- Headphones
- Extension Cords
- Equipment Bag
Additional Items that You Can Add to Your Equipment List
- Additional Lavalier Microphones
- Portable Backdrop
- Audio Mixer
- Rolling Cart
Arriving at the Venue
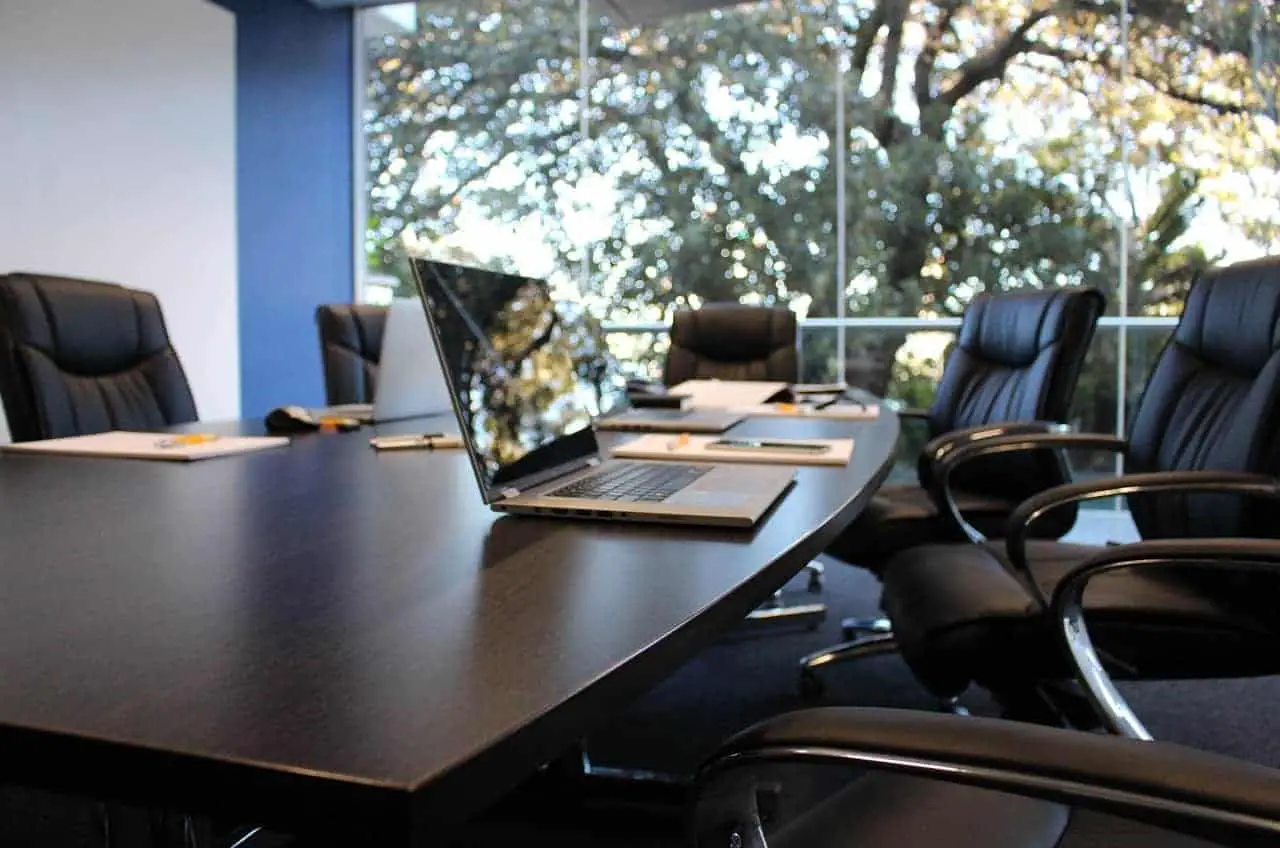
Upon arrival, you’ll need to locate the conference room where your video will be shot. The people that you’ll need to identify when you’re getting set up are the deponent(this is the person being deposed), the court reporter, the deponent’s attorney or attorneys and the attorney or attorneys leading the deposition. Regardless of your mic set up, it will be important to hear each of these people clearly.
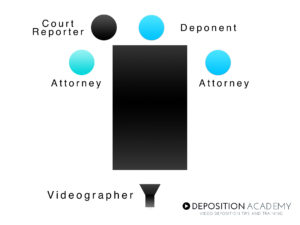 Deposition Participants
- Deponent
- Court Reporter
- Deponent’s Attorney
- Attorney Leading the Deposition
- Videographer
The Setup
When setting up for a deposition video it’s important to focus on proper camera positioning and mic positioning. We’ll walk you through everything from the camera angle to the backdrop. Getting set up correctly will help position you for a successful deposition video shoot.
Positioning Your Camera
When you arrive at your venue you’ll need to know where the person being deposed will sit. This person will be called the deponent. The deponent will be subject of your video and this is where you’ll need to focus. You’ll want to set up on the opposite side of the room from the deponent. It’s important to keep the deponent in the frame at all times and in focus. You’ll want to capture their facial expressions. This could be the key to swaying a jury.
Positioning Your Mic
We’ve utilized a few different mics and positions since we’ve started. Having the deponent wear a lapel mic has helped us capture the highest quality audio. When presenting the mic to the deponent it’s important to have the mic positioned 6 to 9 inches from their mouth.
Test the Audio
Put the headphones on before the deposition begins to test the audio quality and volume coming from the deponent and attorneys. If you wait to test the audio when the deposition is already underway, key information to the testimony could be lost if the mic isn’t working.
Framing
Properly framing the deponent is an important aspect of the shooting the deposition. Unlike other more artistic shots, you want to frame the deponent in the center of the frame. The deponent should be the only subject of your shot and their expressions and mannerisms need to come across clearly in the video. This means you may have to zoom in to get the correct frame.
Following this guide will help you to be prepared for your next deposition video shoot. Your initial set-up will determine the success for the rest of the deposition video. Taking time to understand equipment, framing, and positioning will make your legal videography experience much easier.


