30 Jun How to Edit a Video Deposition
Have you been thinking about starting your own video deposition services, but are not sure how to edit the video together? Well, the good news is, it is actually a very easy process!
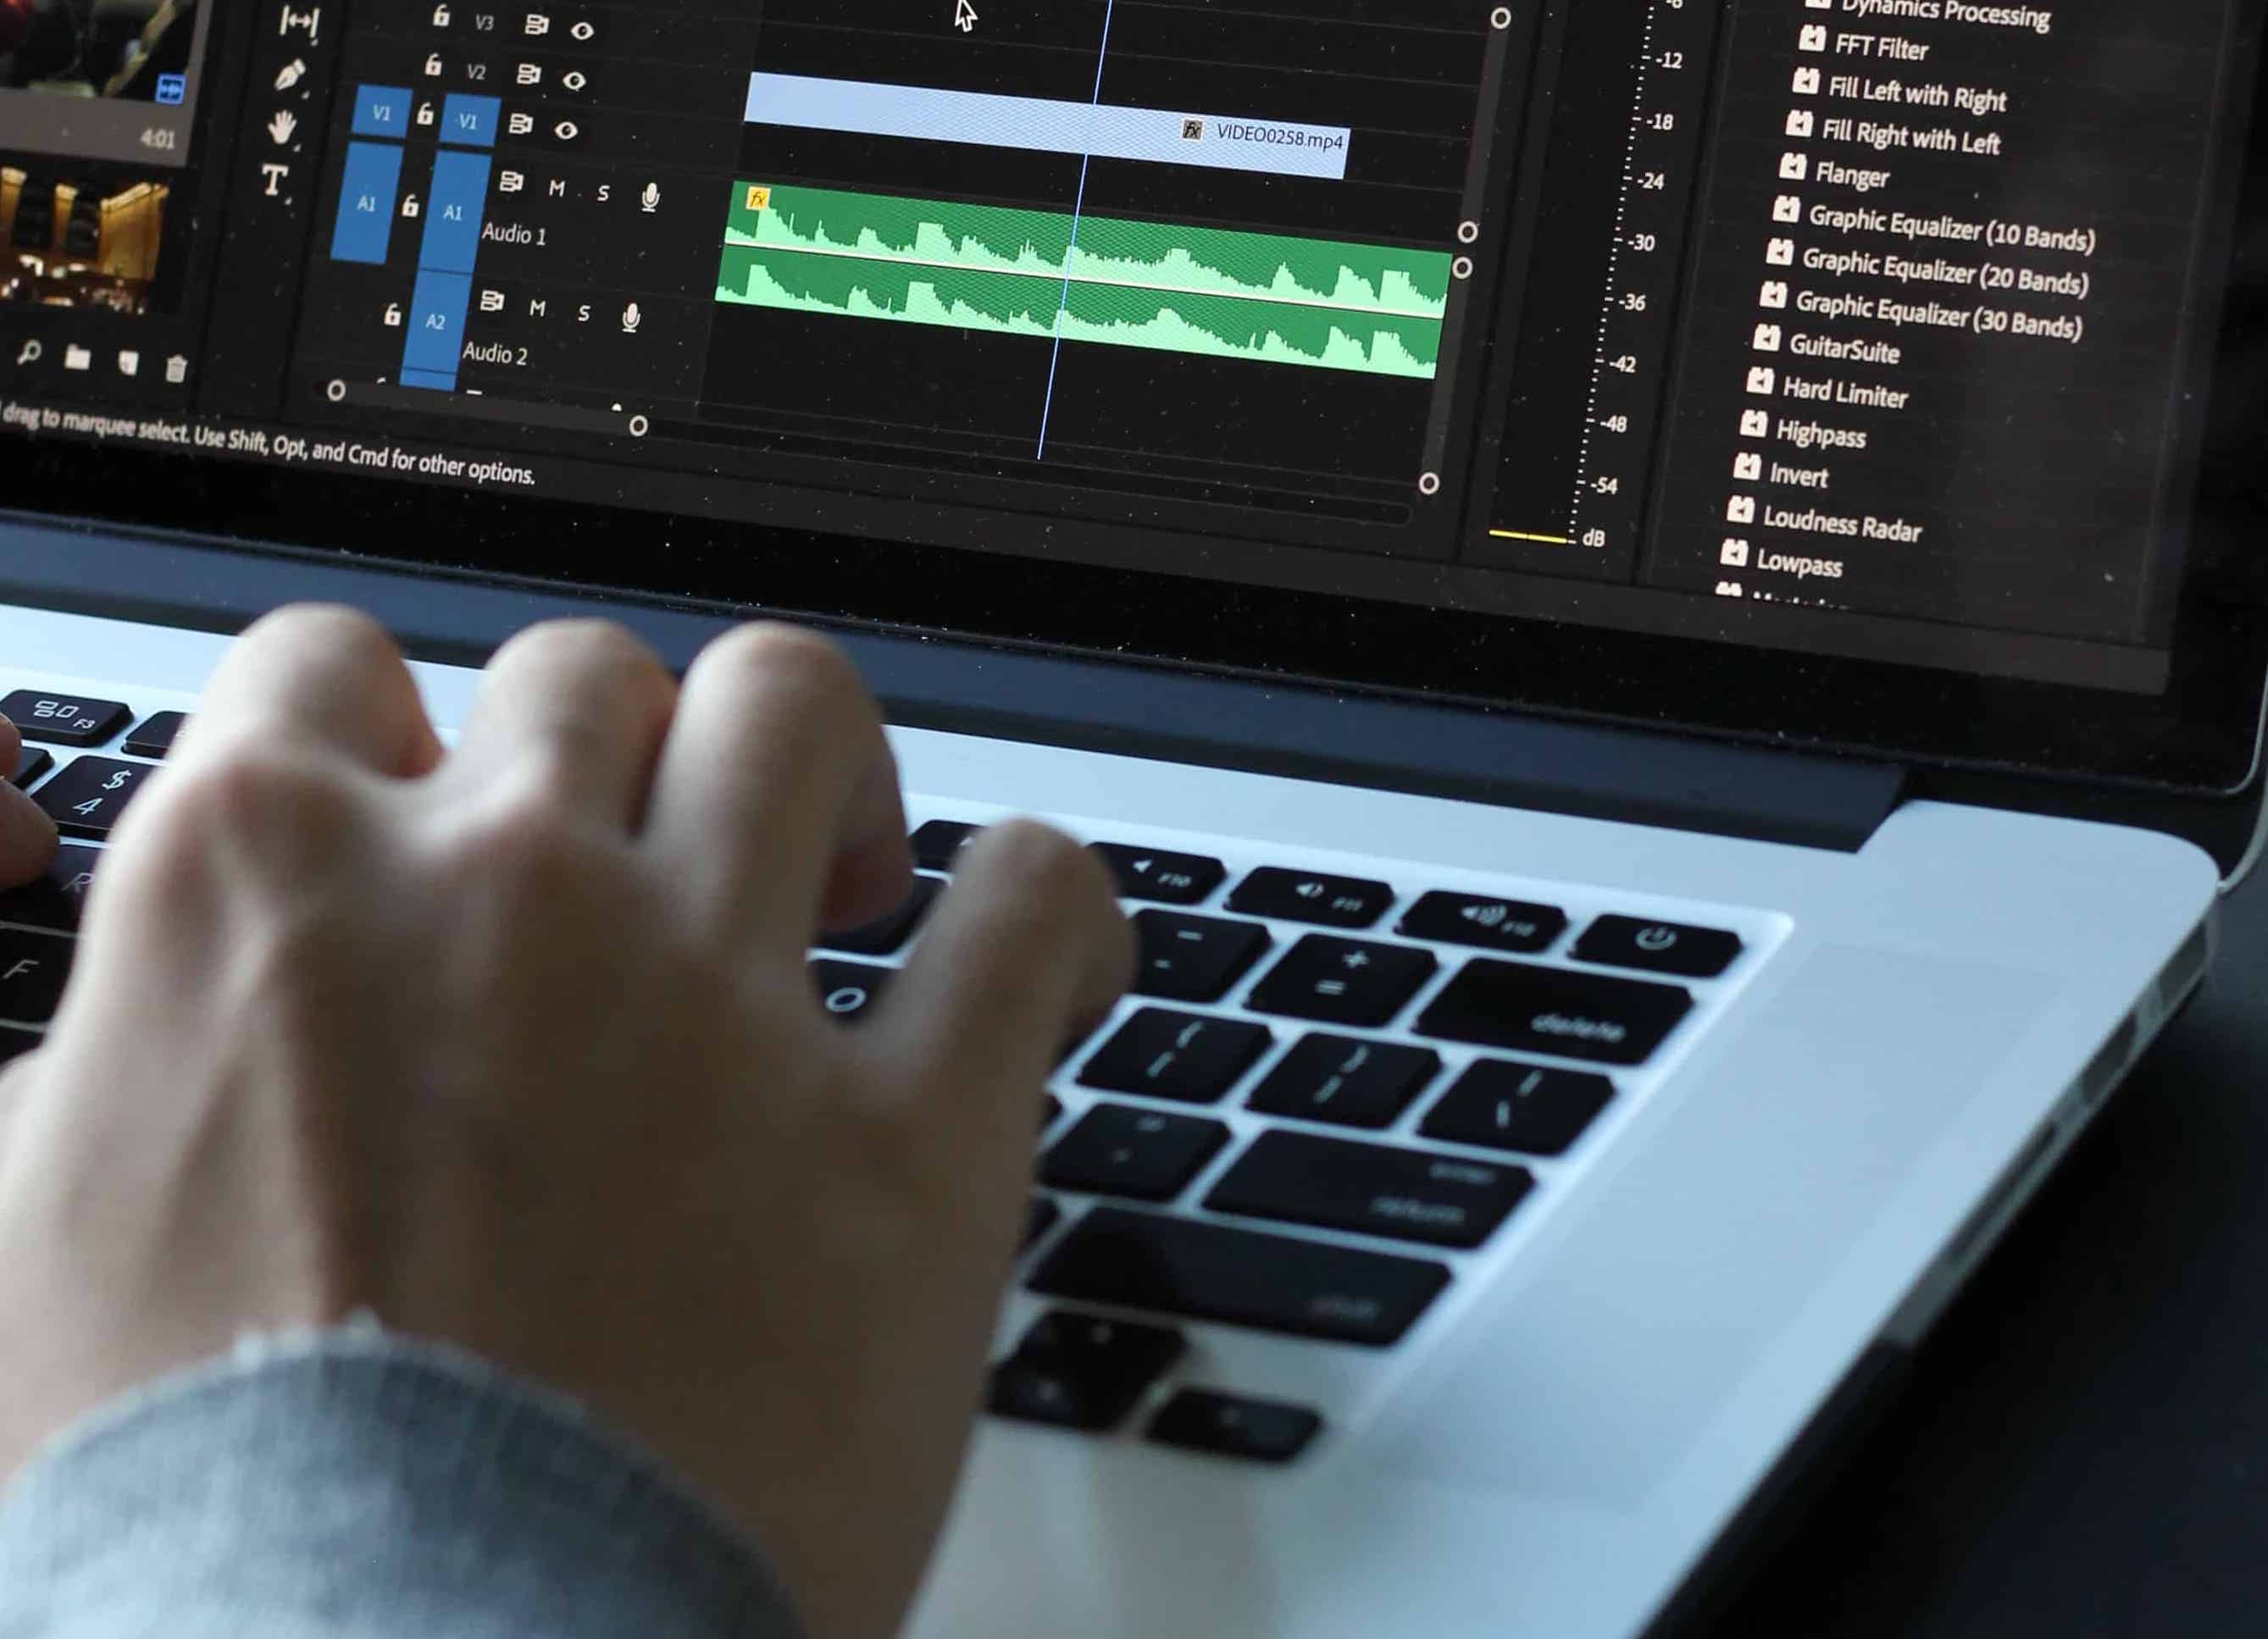
How do you edit a video deposition? To edit a video deposition, all you need to do is take the clips of the deposition, put them in chronological order on the timeline of your editing software, and if you recorded your audio separately, match the audio to your video clips. It’s important that the footage does not have any cuts in the middle of the deposition as this can make it look like information was intentionally edited out.
Editing a Video Deposition
Overall, editing a video deposition is a very simple job, given how advanced some editing can get. Of course, the steps you have to take can vary depending on your equipment setup.
If your audio recording device is plugged straight into your camera, you will not have to match the external audio to your video. However, if you do use an external audio source, you will need to match that audio to your video.

Matching audio is not as hard as it sounds. If you use any sort of professional editing software, such as Adobe Premiere or Final Cut Pro 10 (FCPX), they come with built-in audio matching programs.
Typically, this is not a strenuous job on your computer and can be accomplished quickly. However, if you have an older machine, it could take a few minutes to match sources.
Once your audio and video match, the editing is extremely simple from there on out.
All you have to do for a video deposition is properly align the matched clips in chronological order on the timeline. After they are in the timeline, the clips just need to be rendered and the video is completed. But, there are a few other options to keep in mind that you could include in your editing process.
Video Deposition Editing: Special Requests
It is recommended that you talk with the lawyer or firm that hires you as to what they are wanting in their video. Some may want you to include a title page at the beginning of the video deposition.
This title screen could include items like the name of the person being deposed, the names of the lawyers in the deposition, the case file name, the date of the deposition and possibly what the case is about.
The key thing to building relationships with lawyers as clients is to give them what they want and need for their situation. If they ask for something in their video that you normally don’t do, finding ways to add it anyway can really help your business in the long run.
Another common video editing request is for a date and time stamp on the footage as it plays. Adding this is very simple as the majority of professional editing software have a filter that can be added to each video clip that will display the information for you.
Rendering and Exporting a Deposition Video
The last step of editing a video is the rendering and exporting process. This process can change depending on how you have chosen to set up your service. By this, I am referring to the frame rate and video quality of your camera and how you have chosen to present the video to your clients.
For video depositions, 720p for video quality is plenty. It gives a high definition picture while keeping the file size down. The same goes for the frame rate. Nothing more than 24 frames per second is needed.
Once these two options have been set accordingly, export your video deposition file in an easily accessible format, such as H.264. This is the same format that YouTube prefers.
Delivering a Deposition Video After It’s Been Edited
Lastly, once your video deposition in exported, you will need to go through the process you have chosen to deliver the video to your clients. Typically, for video depositions, a hard copy of the video is needed by the lawyer.
So, it is recommended that you burn the video onto a CD (Compact Disk). With today’s computers, it is likely that you do not have a disk reader attached, so you will have to purchase and attach a USB (Universal Serial Bus) disk reader. In addition, you will need software that allows you to burn the file to the CD.
After that has all been done, you just have to deliver the video to your client, either through the mail or in person. It is recommended that you still keep the video file for a few months after, in case the CD was lost in the mail or by your client. To do this, and not take up too much space on your computer, you should compress the file and store it in an external device.
Equipment Needed to Edit Video Depositions
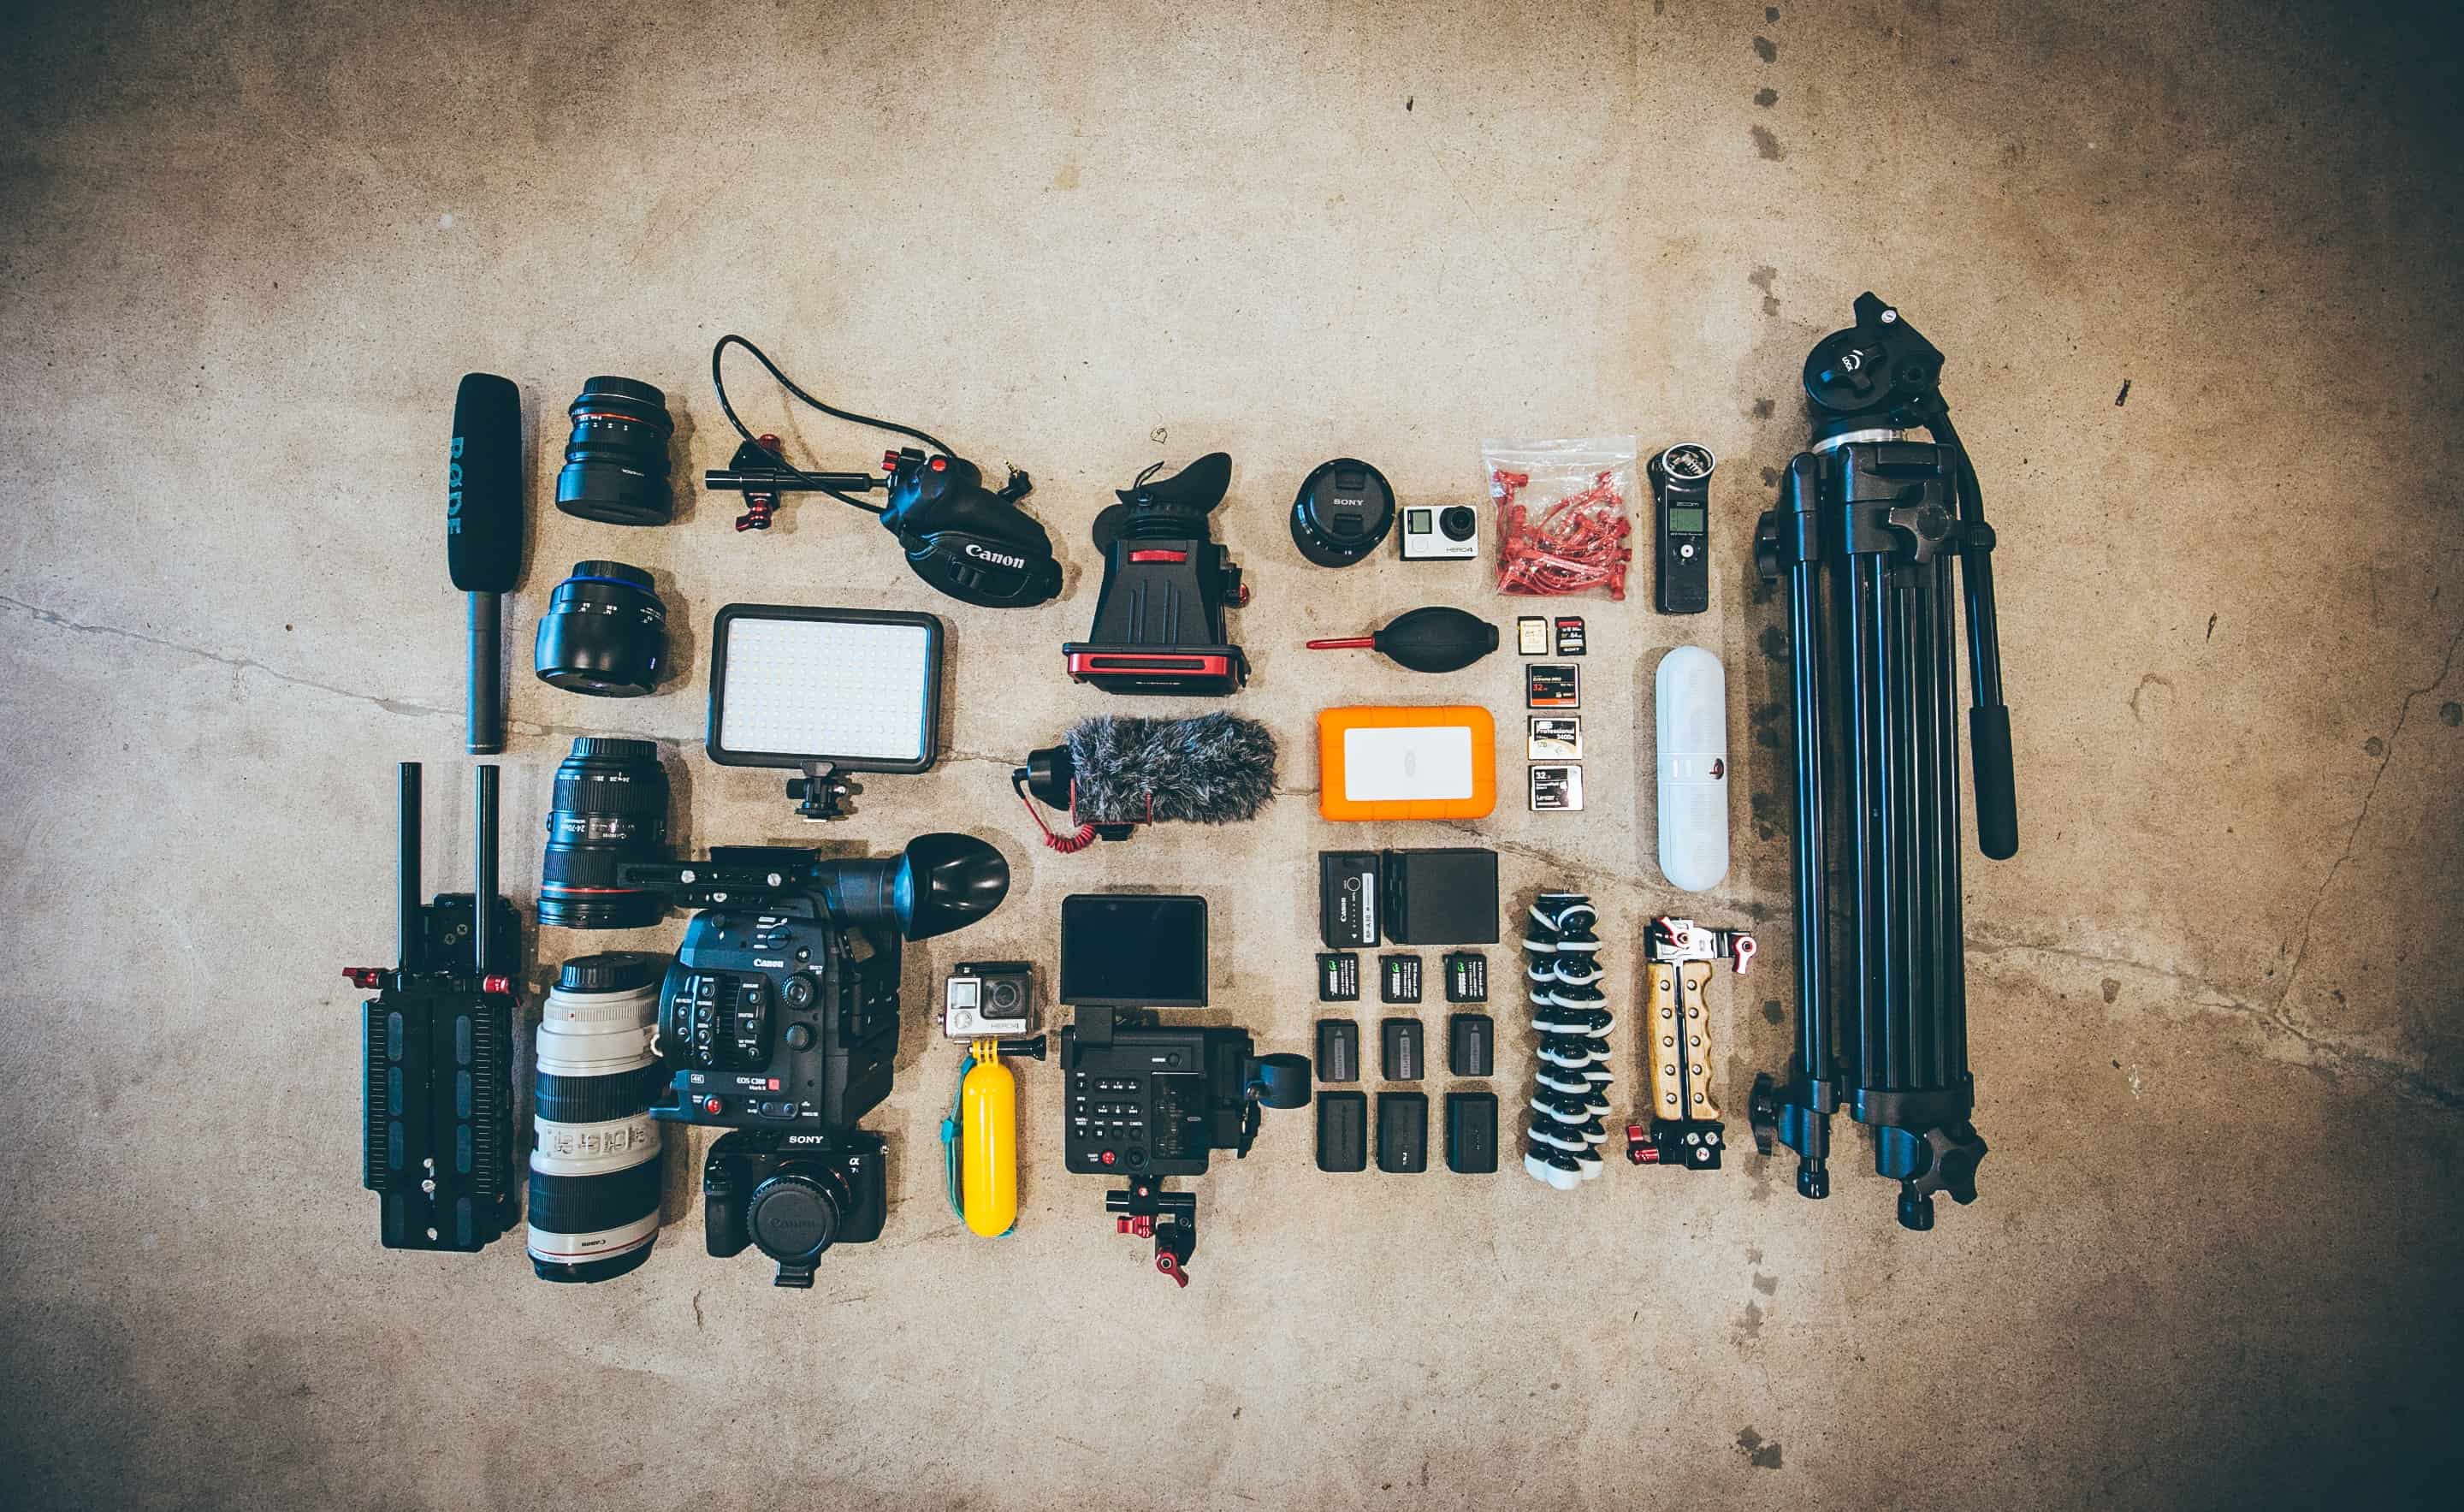
Editing itself doesn’t require much equipment, but you do need a few items that will help make your life easier. The following is a list of needed and optional equipment:
Video Deposition Editing Equipment
- Computer (Tower or Laptop)

- Monitor (For Tower)
- Keyboard
- Mouse
- Speakers
- Editing Software
- CD Burner
- CDs & Envelopes
Optional Equipment
- Separate Audio Software
- Quick Edit Pad (Programmable Keys)
- Compressor Software
When it comes to editing anything, even deposition videos, a computer is the most important piece of equipment. The type of computer you use can vary, whether it is done on a tower computer or a laptop or Mac or PC.
It all depends on the software you choose to use. For deposition specific editing needs, all you need is a basic, cut and drag, editing software. If you wish, you may also want to have software that allows you to input text of the case number, names, and dates. However, this is not a necessity.
There is free video editing software, like HitFilm and Blender. However, using professional software like Adobe Premiere or Final Cut Pro 10 (FCPX) is a good investment for deposition filming. Just read the description on whatever software you choose, and make sure that your computer meets the needed specs.
If you chose to use a computer tower, you will need a monitor. But, since you are doing deposition videos that do not need to be filmed and exported in anything but 720p, any monitor will do. Editing software does take up a lot of screen-real-estate, so keep that in mind.
As for a keyboard, a basic laptop keyboard works perfectly fine. For tower computers, choose a keyboard that you are comfortable with, it does not need to be anything fancy. The same goes for the mouse. Although, it would be easier to use an external USB mouse for laptops. You can use the built-in pad, but you will be crowding your keyboard space in doing so.
If you do choose to burn the video depositions to CD, you will most likely need an external disk reader. These can be found in varying price ranges in stores or online, such as Amazon. I would recommend getting one that allows for fast data transfer, otherwise, your burn may take up too much time that you could be using on finishing other jobs or getting some well-earned relaxation.
As for the optional equipment listed above, these are items that you do not need but could help with your workflow and possibly raise the quality of your service.
If you are just getting started, these could be items that you save up for, or that you just go without. However, an increase in quality and improving your workflow can oftentimes result in an increase in your income.
The reason you may want a separate audio program is that, while video editing software allows audio editing, audio-specific programs allow for greater manipulation to gain lost articulation and/or volume.
In some video programs, if you try enhancing the audio too much, it turns it grainy and staticky, which would not provide your customers with the high-quality service that you are trying to give. A simple audio software, such as Audacity, allows you to tweak the audio a bit more, without losing quality.
As for a quick edit pad, or programmable keys, this will simply allow for you to make the same, repeatable, edits in a more efficient manner. This is nothing that you need to have but could simply help you finish your deposition videos more quickly.
The last optional piece of equipment is a compressor software. This is for after you have delivered the deposition video to your client, and need to store in for emergency needs for a few months. This software can be found in varying price ranges, from free to a monthly charge. It is recommended to have some sort of compressor, so that way your computer is not bogged down with large files.
Summing it Up
So, just remember that deposition editing is a simple editing process. There are things you can do to enhance quality, like recording an external source and matching audio and video files. However, the actual video editing is clean and effective.
All you need to do is line up each clip in the correct chronological order, add a title screen and timecode effect if needed, and export in 720p, 24 fps (frames per second) and in H.264 format. Then burn it to a disk, deliver the product, and compress the emergency copy. The end product will be of good quality, and the courts will be able to use it to get those involved their deserved dues.


